
we’ve always loved this time of year at toddler charcuterie–these fun halloween snacks all fit perfectly on a board big or small!
MUMMY CRISPIES / MUMMY PRETZELS
last year we shared our family’s long time favorite monster crispies + this year we’ve got a lighter version with a less candy topping that is equally craved at this time of year…mummy treats!!
building blocks:
(yields 12-24, depending on cut size)
1 large pot (i like a large one to allow room to stir in all the cereal)
4 tablespoons butter, melted
5 1/2 – 6 cups rice krispies cereal
1 bag 10 oz marshmallows (i prefer the mini size)
1 tsp vanilla
substitute marshmallow crispy treats for square pretzels to create MUMMY PRETZELS!
directions:
(10-15 minutes)
start by buttering a 9×13 dish
melt the butter in the pan on low heat
pour in one bag of mini marshmallows (or approximately 10oz)
stir to coat in butter + melt
drop in 1 tsp vanilla (optional) + incorporate to marshmallow mixture
pour 5 1/2-6 cups rice krispies cereal + stir gently to combine
empty mixture into prepared 9×13 dish
using an offset spatula, lightly press into a rectangle shape that is mostly even across the top
set aside to cool
once cooled, cut into rectangles or any shape you like
melt the candy discs in a pastry bag or ziploc (white for traditional mummies or any fun colors you like!)
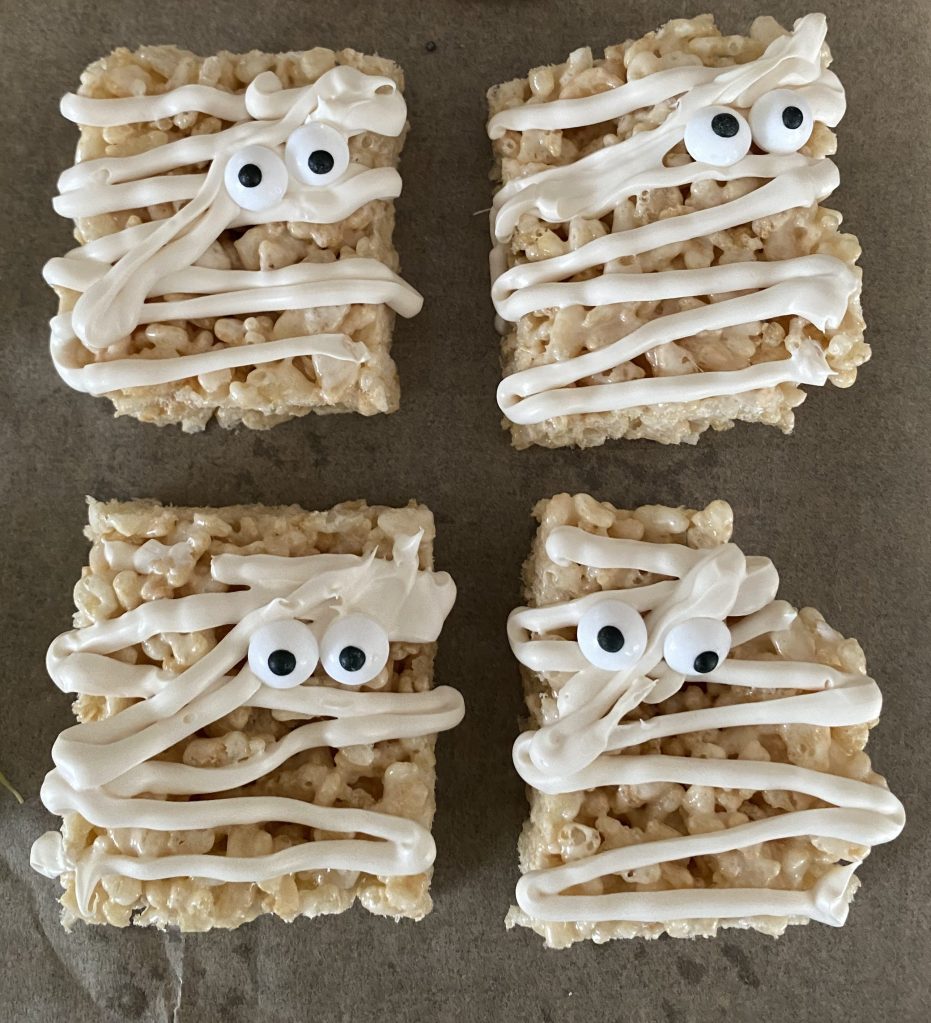
squeeze the melted candy in a zig-zag pattern across each treat left to right, from top to bottom.
embrace a messy mummy: be creative–no one likes a perfectly wrapped mummy + the unexpected bits are what make them look authentic + fun. this is arguably the most fun part + our kids always love to help drop the candy eyes on. be sure to add eyes before the melted candy cools…it happens quickly!
if making MUMMY PRETZELS
line a rimmed sheet pan with parchment paper
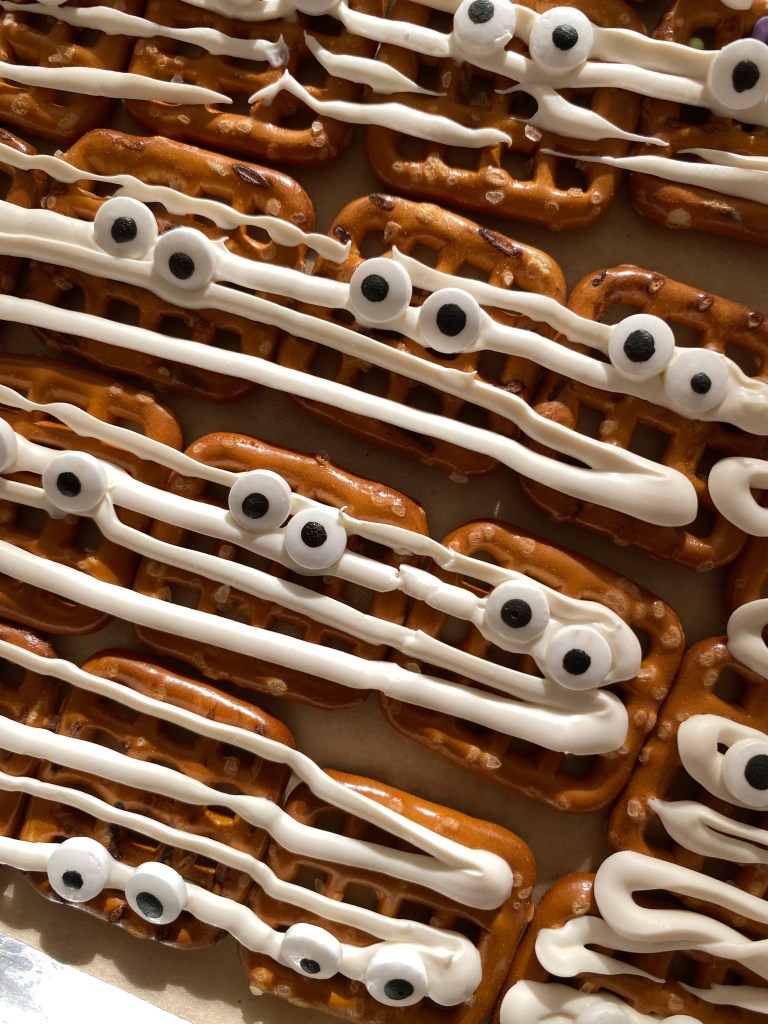
layout the square pretzels side by side before coating, this will help the melted candy go farther.
place the candy discs into a piping bag or ziploc, cut off the tip/corner of the bag then drizzle the candy from side to side to create mummy wrappings + drop candy eyes on top.
once cooled, gently break apart the squares –some of the cooled candy may fall off, but this adds to the creative end result.
as we say in our kitchen: when we’re making a mess, we’re having fun!!!
serve it up: if you’re carrying these to a party or sharing with neighbors, they look amazing in cellophane bags tied with string, ribbon, raffia, or baker’s twine in coordinating (halloween) colors.
for some afterschool fun, serve these treats right from the baking sheet or present it on a board beside some healthy items like fruits, nuts, nut butter or similar. figs + pears are amazing fall fruits + are in season around this time year!
or, surprise your ghouls + ghosts by tucking these into a lunch box…they won’t forget it!!
we hope you love the way your kids will find
their new favorite foods when they eat from a board!
when you try one of our recipes or build your
own mini charcuterie boards, please invite us to the party,
by tagging us on instagram:
@porchesandpillowfights / @pencilandinkcreative
our boards + their elements are always kid tasted, parent approved; together we can “curate a better palate”!
–pencil, ink + marker
Discover more from toddler charcuterie
Subscribe to get the latest posts sent to your email.
